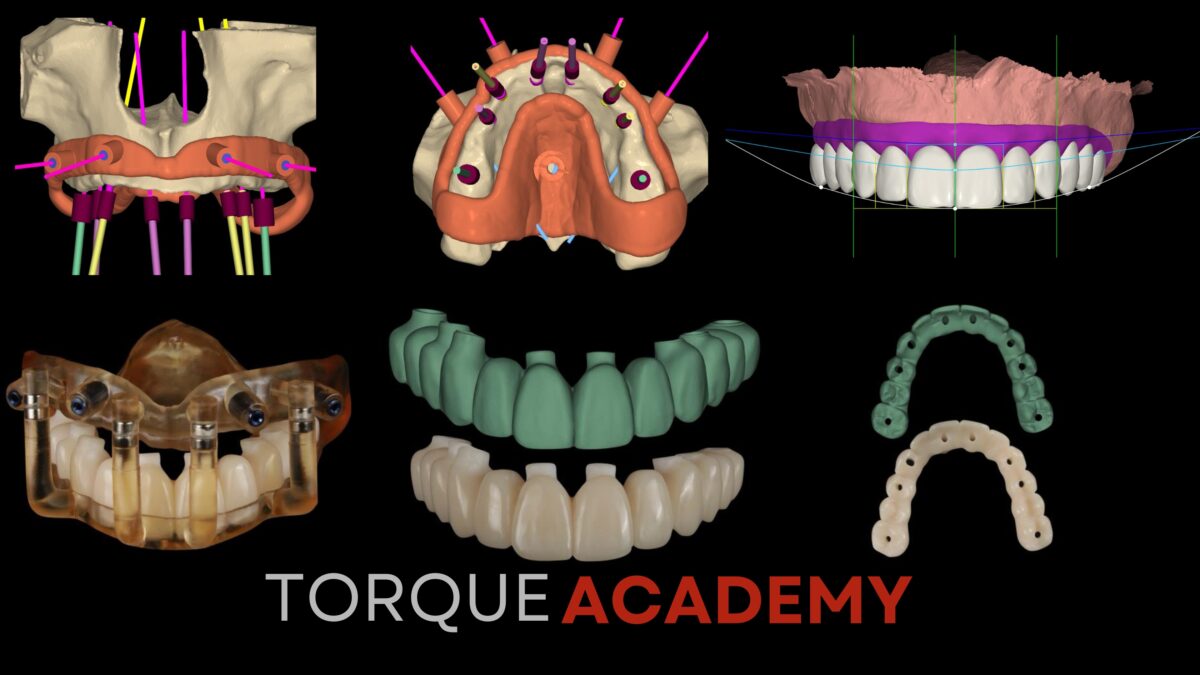
Digital Workflow Integration: 3D Planning in Modern Implantology
April 5, 2026
The Biology Behind Long-Term Implant Success
September 25, 2026
The moment a tooth is extracted, a biological clock starts ticking. The alveolar bone begins to resorb, soft tissue collapses, and the window for an ideal restorative outcome narrows with every passing day. For years, the standard response was to wait weeks, sometimes months before placing an implant. But modern implantology has rewritten that protocol entirely.
The immediate implant placement workflow extracting and placing in a single visit is no longer an advanced exception. For the clinician who understands the biology, it is the standard of care.
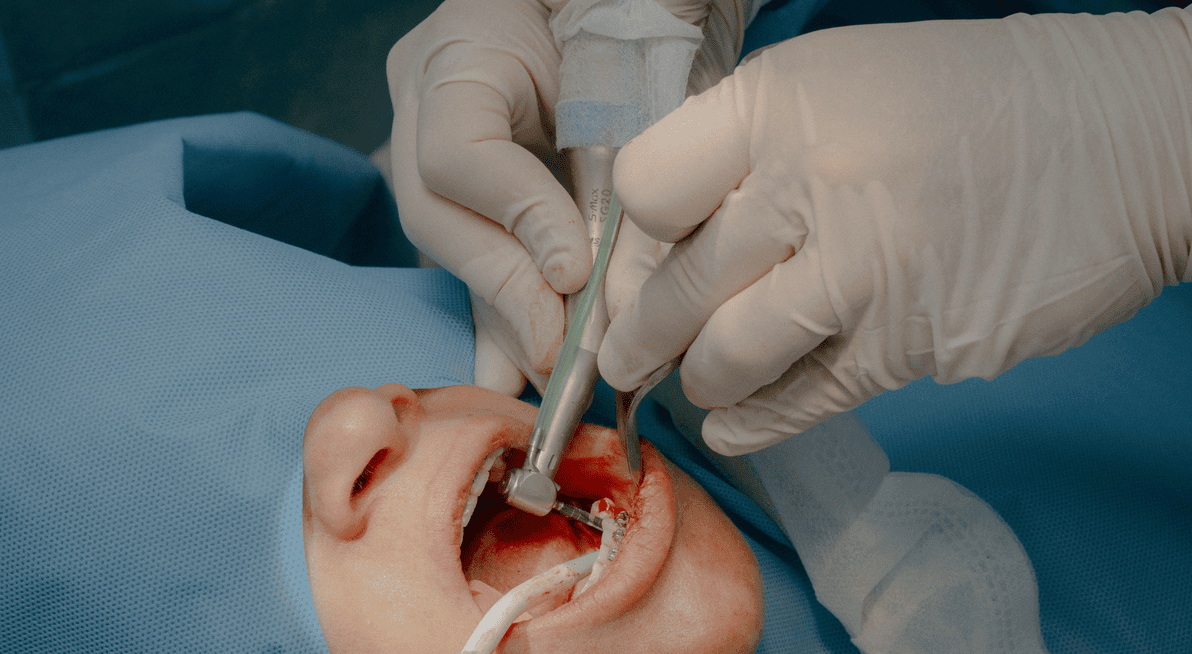
Immediate implant placement Type 1 placement has evolved from a controversial technique into a predictable, highly sought-after standard of care. When executed correctly, placing an implant directly into a fresh extraction socket dramatically reduces total treatment time, minimizes surgical interventions, and preserves the existing soft and hard tissue architecture.
However, speed must never compromise stability. Predictability in immediate implantology depends heavily on strict case selection, meticulous atraumatic technique, and achieving primary mechanical torque. Without these three conditions, you are not performing immediate placement you are performing a compromised procedure and calling it immediate.
The foundation of a successful immediate protocol rests on three non-negotiable pillars. But before any of them can be applied, one question must be answered first: is this patient even a candidate?
1. Patient & Site Selection: The Non-Negotiable Criteria
Before picking up a handpiece, case selection determines success. Not every extraction site is a candidate for immediate placement. The following parameters define a green-light case from a contraindicated one:
| Clinical Parameter | ✅ Ideal Candidate | 🚫 Contraindicated |
|---|---|---|
| Buccal Bone Plate | Intact wall, >1mm thickness | Damaged, fenestrated, or missing wall |
| Infection Status | No active acute purulent infection | Uncontrolled acute apical periodontitis / abscess |
| Apical Bone Volume | >3–5mm of bone beyond root apex | Inadequate apical bone (e.g., sinus proximity) |
| Gingival Biotype | Thick, flat biotype | Very thin biotype (high recession risk) |
| Patient Compliance | Low parafunctional habits, bruxism controlled | Severe uncontrolled bruxism or heavy smoking |
A single red light does not automatically eliminate a case but it demands a protocol modification. Two or more red lights is a contraindication. The clinician who cannot say no to an immediate case is the clinician who produces unpredictable outcomes.
2. Atraumatic Extraction The goal is to preserve every millimeter of the buccal plate. Periotomes, piezoelectric devices, and sectioning multi-rooted teeth before extraction are not optional techniques they are prerequisites. A fractured buccal plate is not a complication; it is a case that was not properly planned.
3. Primary Stability Immediate placement demands that the implant engages native bone apically and laterally beyond the socket walls. In Type 3 and 4 bone, macro-geometry becomes your greatest ally. Understanding how thread design and implant diameter interact with bone density is what separates predictable outcomes from unpredictable ones.
4. Socket Sealing & Provisional Design The Socket Sealing Abutment (SSA) is the keystone of the immediate workflow. A custom-contoured provisional that seals the socket, supports the gingival architecture, and guides tissue healing is not cosmetic it is biological. Without it, you are leaving the outcome to chance.
At Torque Academy, we teach these pillars through live patient surgery. Not simulation. Not models. Real cases, real tissue, real decisions under direct one-on-one mentorship.
Step-by-Step Clinical Protocol
A standardized, repeatable protocol eliminates guesswork during surgery. Predictability is not talent it is system.
Step 1 — Atraumatic Tooth Extraction: Preserve the socket walls at all costs. Use periotomes, luxators, or a vertical extraction system to sever the periodontal ligament. Never lever against the fragile buccal bone plate. Section multi-rooted teeth before extraction to preserve the interradicular bony septum.
Step 2 — Socket Debridement & Wall Inspection: Verify the integrity of all 5 socket walls. Thoroughly curette the socket walls to remove all residual granulation tissue, PDL fibers, and debris. Probe all socket walls especially the labial/buccal plate to confirm the absence of fenestrations or dehiscences.
Step 3 — Osteotomy Preparation & Palatal Anchorage: Engage native bone beyond the socket apex. Initiate the pilot drill along the palatal/lingual wall of the extraction socket (or interradicular septum in molars) to prevent buccal deflection. Ensure the osteotomy extends 3–5mm beyond the root apex into healthy native bone to achieve primary stability.
Step 4 — Implant Placement & Primary Stability Assessment: Target 35–45 Ncm insertion torque. Place the implant so the restorative platform sits 3–4mm apical to the anticipated ideal mid-facial gingival margin. Measure insertion torque:
- >35–45 Ncm: Sufficient mechanical engagement for an immediate non-functional provisional crown or custom healing abutment.
- <35 Ncm: Suboptimal for immediate loading opt for a standard healing abutment or a submerged approach.
Step 5 — Jumping Distance Grafting: Prevent long-term buccal contour collapse. Fill the gap between the implant surface and the inner aspect of the buccal wall (the “jumping distance”) using a slow-resorbing bone graft material (e.g., xenograft/allograft blend). Pack gently without over-compression.
Step 6 — Provisionalization & Soft Tissue Emergence Profile: Seal the socket immediately. Place a custom healing abutment or immediate non-functional provisional crown. Ensure the provisional is completely out of occlusion in centric occlusion and all lateral excursions to protect the healing interface from micromovements.
Key Points for Clinical Success
- The Golden Rule of Immediate Implants: Primary stability comes from bone beyond the socket apex and the palatal wall never rely on the socket walls for initial fixation.
- Respect the Gap: Always graft the buccal space, even if it is less than 2mm. This preserves facial volume and long-term aesthetics.
- Torque Control: Never sacrifice depth or 3D positioning just to achieve higher torque. If stability is lacking, adjust your drilling sequence or consider a wider implant body.
- Occlusal Release: Immediate provisionals must have zero contact during maximum intercuspation and all dynamic movements.
The immediate implant protocol is not a shortcut. It is a disciplined, evidence-based workflow that demands surgical precision, biological understanding, and prosthetic vision. When executed correctly, it delivers superior aesthetic outcomes, reduces patient burden, and positions your practice at the forefront of modern implantology.
The single-visit workflow is not the future it is the present. The question is whether you are ready to master it.
Have you performed immediate implant placement in your practice? What has been your biggest challenge with primary stability in compromised sites share your experience in the comments below.